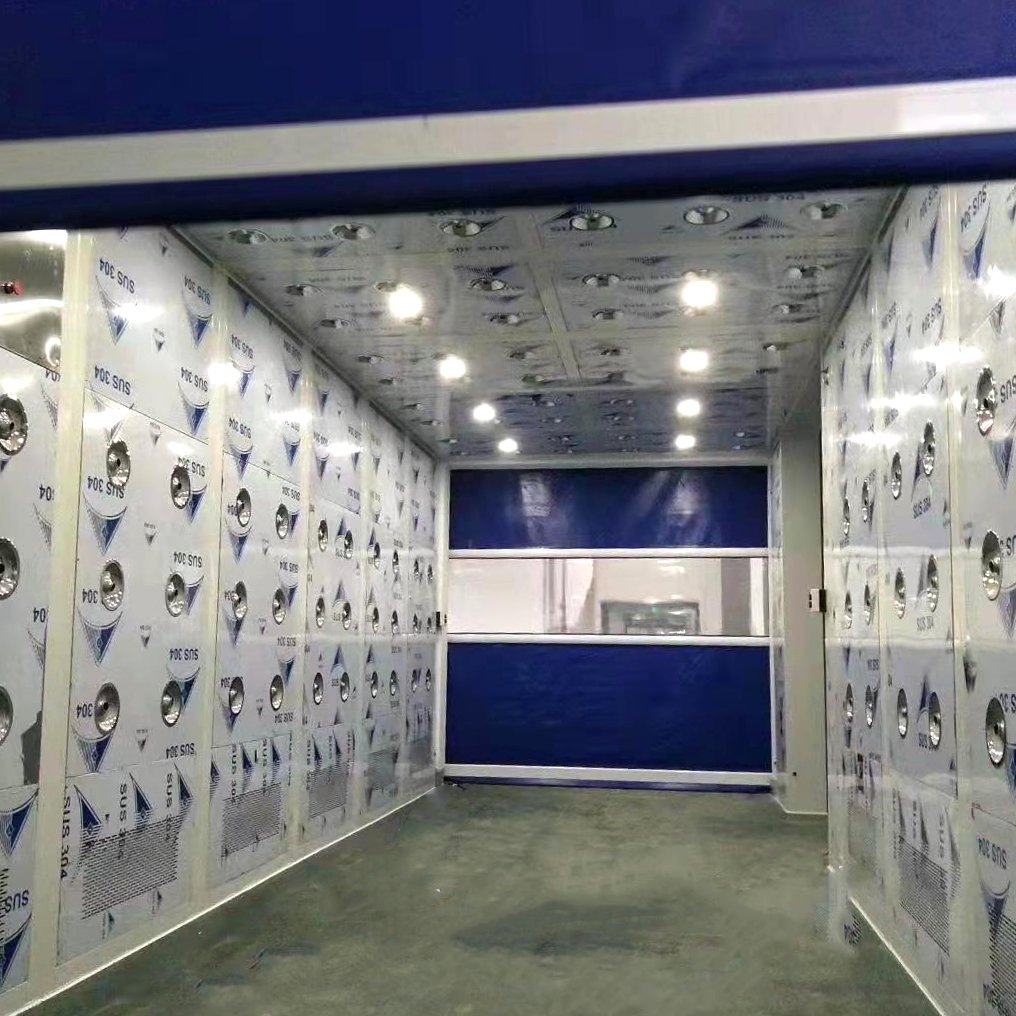
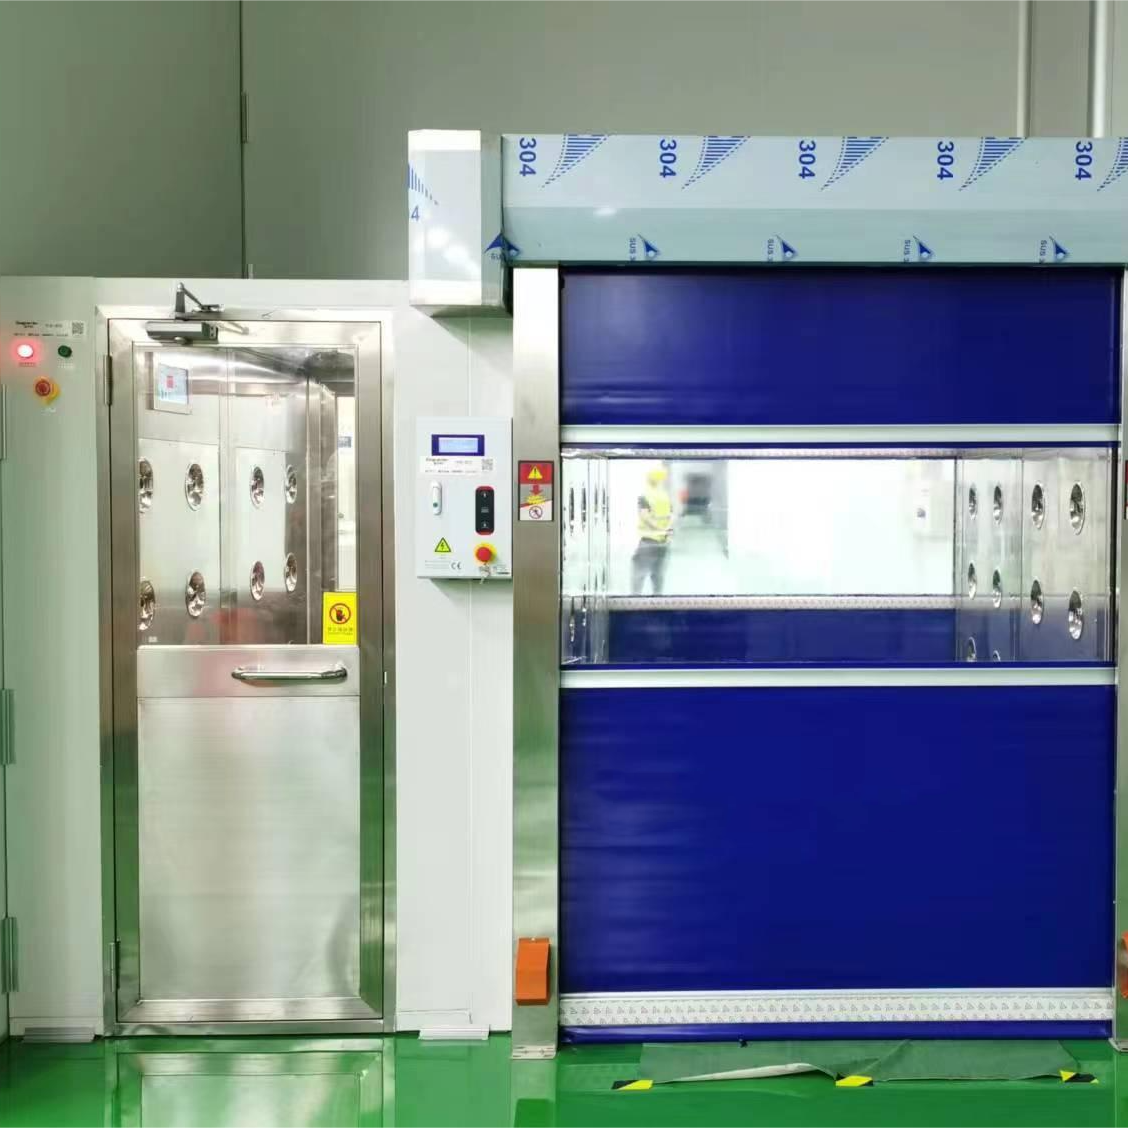
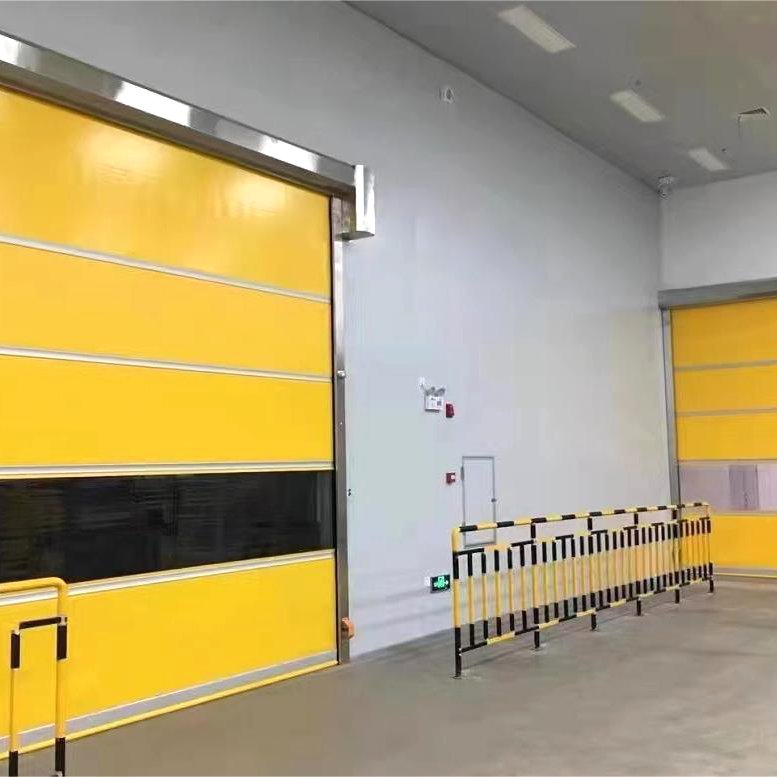
Description
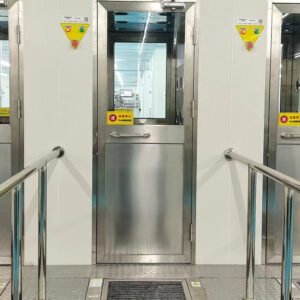
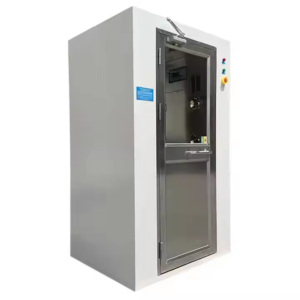
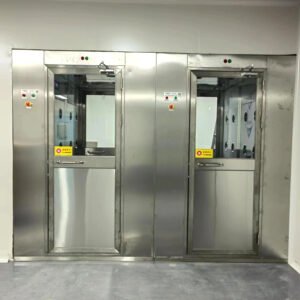
1. Connect the power supply of 380V, 50HZ, turn on the work and lighting switches, and confirm that the fan and lighting are working normally. At this time, the air shower room is in the initial state, and personnel can operate normally.
2. Entry and Exit Procedure:
Manual button to open the door → entrance door automatically opens, enter the air shower room → (if the anti-pinch sensor on the inside of the entrance door does not detect a person or goods within 5 seconds, the entrance door automatically closes) → person or goods enter the air shower sensing area → start blowing at a wind speed of 2025 m/s (blowing time adjustable from 1099 seconds, default factory setting is 15 seconds) → blowing ends → exit door automatically opens → person or goods leave the air shower room (if the anti-pinch sensor on the inside of the exit door does not detect a person or goods within 5 seconds) → exit door automatically closes → process ends.
3. Exit Procedure:
Manual button to open the door → exit door automatically opens → enter the air shower room (if the anti-pinch sensor on the inside of the exit door does not detect a person or goods within 5 seconds) → exit door automatically closes → entrance door automatically opens → person or goods leave the air shower room (if the anti-pinch sensor on the inside of the exit door does not detect a person or goods within 5 seconds) → entrance door automatically closes → process ends.
Precautions:
-
After powering on the air shower room, the doors on both sides are interlocked. It is strictly forbidden to force open the other side door when one side door is not completely closed.
-
It is strictly forbidden to open the door during the blowing state (until blowing stops). In emergencies, you may press the emergency stop switch to stop blowing and then open the door.
-
The emergency stop switch will automatically reset after 3 to 4 minutes, and the system will enter sleep mode. Pressing any key will resume normal operation.
-
When performing maintenance (or opening the control panel), ensure safety by disconnecting the main power switch and removing the fuse. Confirm no power before starting work.
-
After blowing ends, it is strictly forbidden to forcibly open the front door.
-
The air shower room should be operated by dedicated personnel. After the blowing nozzles are positioned, non-operating personnel should not easily move them.
Screen 1: Main Operation Screen
-
Pressing ESC will disconnect all outputs (effective only on the first screen).
-
Pressing ALM will disconnect the lighting output (effective only on the first screen).
-
When the power supply is on, the power indicator light will be on (effective only on the first screen).
-
When the fan is working, the work indicator light will turn on (effective only on the first screen).
Use the up/down keys to select the second screen:
Screen 2: Parameter Setting Screen
-
Press 0 to prompt for password entry, then press ENT. The password is 999. Use the arrow keys to input numbers (direct input is not allowed). After entering the password, press ENT to confirm. Press ESC to exit back to the second screen. Then press SET, select the position to enter data, input the desired value, and press ENT to confirm.
-
Blowing time setting range: 0.3 ~ 999.9 seconds.
-
Lighting time setting range: 18 ~ 3600 seconds.
-
Exit door delay setting range: 0.1 ~ 20 seconds.
-
Front door delay setting range: 0.3 ~ 20 seconds.
If the data set is out of range, a buzzer will sound.
Use up/down keys to select the third screen:
Screen 3: Settings Screen
-
Select the position to enter data, input the desired value, and press ENT to confirm. After the data is successfully modified, press SET until the cursor disappears.
-
Production quantity setting range: 1 ~ 99.
-
Production date setting range: 2000 ~ 9999.
-
If the data set is out of range, a buzzer will sound.
Use the up/down keys to select the fourth screen:
Screen 4: Fault Diagnosis Screen
-
When the entrance door is closed, the entrance door magnetic sensor indicator changes from white to black; when the exit door is closed, the exit door magnetic sensor indicator changes from white to black; when the photoelectric switch is triggered, its indicator changes from white to black.
-
When the entrance electric lock is energized, its indicator changes from white to black; when the exit electric lock is energized, its indicator changes from white to black; when the air shower is working, its indicator changes from white to black; when the lighting is on, its indicator changes from white to black.
Use the up/down keys to select the fifth screen:
Screen 5: Consumable Size Screen
-
Select the position to enter data, input the desired value, and press ENT to confirm. After the data is successfully modified, press SET until the cursor disappears.
-
Pre-filter size range: Max: 2000×2000×500 mm; Min: 10×10×5 mm.
-
HEPA filter size range: Max: 2000×2000×1000 mm; Min: 10×10×5 mm.
-
Lighting setting range: 1 ~ 99.
-
If the data set is out of range, a buzzer will sound.
You can select any screen using up/down keys. After successful data modification, press SET until the cursor disappears. Press 1, then ▼ to the password close option, press ENT, confirm the password is closed, exit to the first screen. Press the ESC emergency stop button once to activate emergency stop, press it again to cancel emergency stop, all settings are successful.
IV. Common Faults and Troubleshooting
If the rapid roll-up door air shower has any abnormalities, please refer to the table below for self-check. If the fault cannot be resolved, please contact our after-sales service department promptly for repair.
| Fault Phenomenon | Cause of Fault | Solution |
|---|---|---|
| Low Air Velocity | High-efficiency filter is used for too long, causing clogging | Replace with a new high-efficiency filter |
| The primary filter was used for too long, causing clogging | Replace with a new primary filter | |
| Fan Does Not Rotate | The incoming air circuit breaker trips | Check for short circuit or leakage |
| Electrical components in the distribution box damaged | Replace damaged electrical components | |
| The fan is working time too long | Replace the fan | |
| PLC control system malfunction | Repair the PLC control system | |
| Fan Does Not Stop | Timer relay damaged | Repair or replace the timer relay circuit board |
| Intermediate relay damaged | Replace the intermediate relay | |
| Lighting Not Bright | Daylight lamp damaged | Replace the daylight lamp |
| PLC control system malfunction | Repair the PLC control system | |
| Both Doors Not Interlocked | Electronic lock, sensor door magnet, or PLC program failure | Replace related electrical components |
Note: Non-standard customization is acceptable.

